
Also, here's a friendly reminder about the awesome giveaway from our sponsors that you should go check out. It ends at midnight on December 2nd.
Without further ado here's Katie's awesome tutorial which is perfect for a teenager and is seriously one of my favorite designs right now because I LOVE working with solids. And most people know how much I am obsessed with gray at the moment. In fact I think I am going to go make one of these stockings right now!
Herringbone Stocking Tutorial
My name is Katie Blakesley, and I blog at Swim, Bike, Quilt. I am happy to be sharing a stocking tutorial at Purple Panda Quilts today. I think Lyanna's Stocking for Kids drive is brilliant, and I will be sending her two stockings in the next few days. Knowing that you only have a week to make and send her a stocking before the deadline, and guessing that there are a lot of stockings made for the 5 and under set, I am sharing my simple Fit for a Teen Stocking Tutorial today.
Supplies:
Favorite stocking (optional, for tracing) 1/3 yard solid fabric (Kona charcoal) assorted solid fabrics: gray, blue, and teal charm squares or scraps small strips of feature print 1/3 yard lining fabric (Kona white) 1/3 yard fusible fleece 2 strips of paper, 3 1/2'' x 11'' washable glue stick

Tracing Your Stocking
1. Trace your favorite stocking onto a large sheet of paper, or use Lyanna's template here. If tracing a stocking, add 1/4'' seam allowance around the entire stocking and cut out the paper template.
Making the Herringbone Blocks
The herringbone blocks are made from skinny string blocks. I cut strips no smaller than 1'' and no bigger than 2 1/4''. You can cut them as small as 1'' x 5'', but need to pay attention when stitching them to paper. I recommend strips at least 6'' long.
1. Reduce your stitch length--I reduce my stitch length from 2 to just over 1. Choose a strip, and use the washable glue stick to glue it in the middle of one of the 3 1/2'' x 11'' pieces of paper.
2. Place a 2nd strip face down on the right side of the 1st strip, sew 1/4'' seam allowance along the edge. Open, press, and repeat, until you have covered half of the piece of paper.


3. Place a strip face down on the left side of the 1st strip, sew 1/4'' seam allowance along the edge. Open, press, and repeat, until you have covered the rest of the paper.

4. Place paper face down on cutting mat, and trim around the edges. Remove paper from back of block.
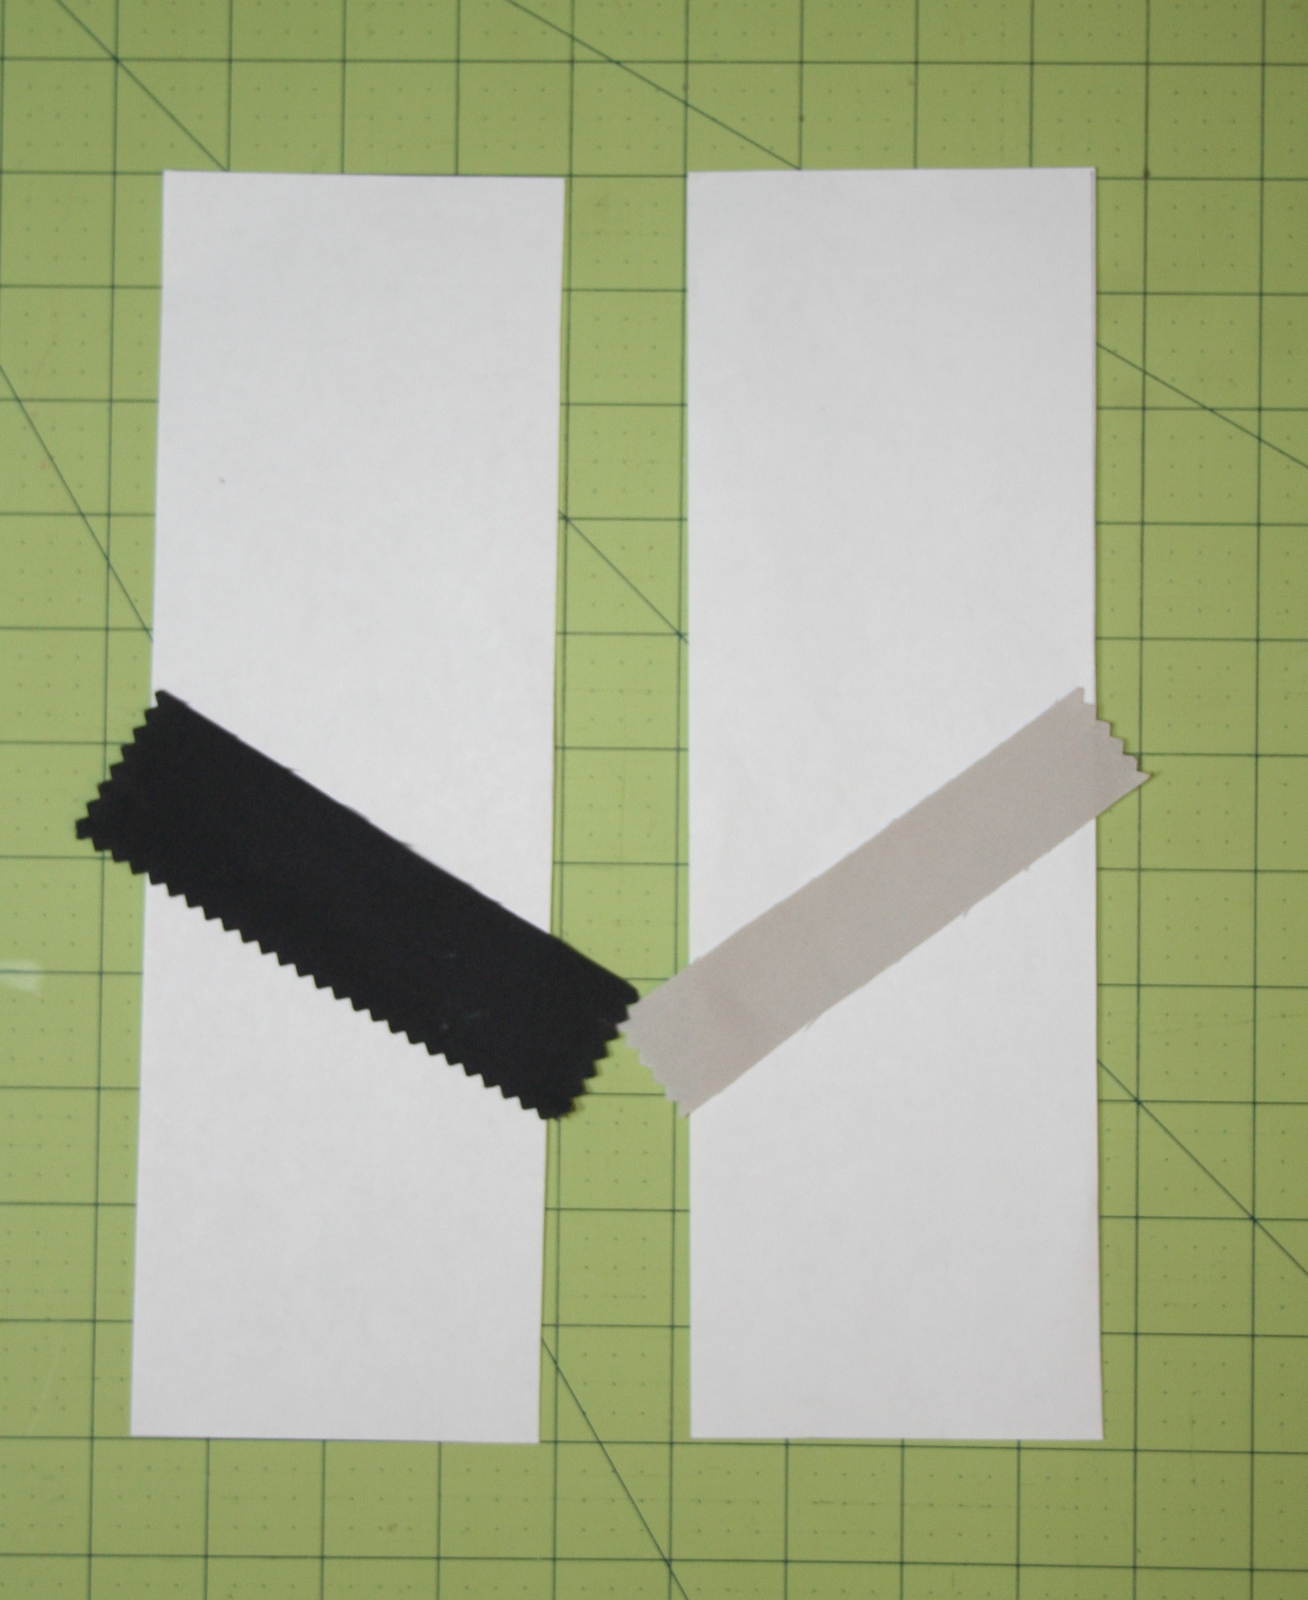
5. Repeat steps 1-4 with 2nd piece of paper. Make sure to place the 2nd strip angled differently as shown below, otherwise you will have diagonal stripes instead of a herringbone pattern.


6. Cut the herringbone strips into 3 1/2'' squares. Choose three squares, and sew them together, end to end. 7. Place the herringbone strip over the stocking. When you are happy with placement, cut out a 3 1/2'' strip from the stocking. Sew the herringbone strip in it's place, and stitch.

Quilting the Stocking
I kept the quilting on this one simple, just a few sets of straight lines. I tried to picture the 12 and 14 year old boys that I know, and didn't think they would like anything too fussy.
1. Fold the fusible fleece in half. Trace your original stocking onto the fusible fleece, and cut out. Note: This will be 1/4'' smaller than your stocking. This is correct, that way the fleece isn't in the seam allowance.
2. Fuse the fleece to your 2 outer stocking pieces according to manufacturer's instructions.
3. Quilt the front and back as desired.

Assembling the Stocking
1. Place the outer stocking pieces right sides together. Using a 1/4'' seam allowance, stitch around the sides, leaving just the top open. Press seams. Clip the curves and turn the stocking inside out.
2. Using one of the strips, make a fabric tab (I took a 2 1/2'' x 5 strip, placed right sides together, and stitched a 1/4'' seam allowance along the side. I turned it right side out, folded it in half, and stitched along the sides and through the center). Line up the raw edge of the fabric tab with the top of the stocking, stitch 1/4'' seam allowance, back stitching several times.

3. Place the lining pieces right sides together. Using a 1/4'' seam allowance, stitch around the sides, leaving just the top open. Clip curves and keep lining inside out. Press seams.
4. Place the outside of the stocking inside the lining, right sides together. Stitch 1/2'' around the top of the stocking, leaving a 4 inch hole on the back. This is where you will turn the stocking right side out.

5. Turn the stocking right side out. Press top seam well. Either hand stitch the opening closed, or iron well and top stitch around the top of the stocking.

Congratulations! Your stocking is finished!
Admire it for a moment, tell your friends, and send it off to Lyanna!!!
2 comments:
Love it - perfect for a teenager!
Hi Lyanna!
I love this project! I am an editor for AllFreeSewing.com and would love to feature your tutorial on my site with full credit to you. I know my readers would just love it and in return would generate some nice traffic to your site. If you agree and would like us to feature your project, our readers will simply click the link to your blog to get your full tutorial.
My site is part of Prime Publishing and we publish 19 cooking and crafting web sites. We have over 3.5 million active e-mail subscribers and about 10 million page views per week. You can learn more about us at www.primecp.com.
Please let me know if you would like to get started. Just shoot me an email - mseeley@primecp.com
Thanks, and look forward to hearing from you!
Mollyhall
Post a Comment