Allison over at Cluck Cluck Sew has generously agreed to share her tutorial for a lined stocking with a cuff. So without further ado - here's Allison's tutorial. Go check out her blog for some more inspiration...and don't forget to post photos of your stockings to the flickr group.
----
Ok so this took me 2 days of staring at a stocking to figure out. My mind just doesn’t work in the turn it inside out then right side in then right side out and do the hokey pokey kind of way. So here’s a quickie tutorial mainly for my own sake so I remember how. If you want an actual pattern for the quilted parts, as well as templates for all the pieces, you can find a great pattern here.
Start with:
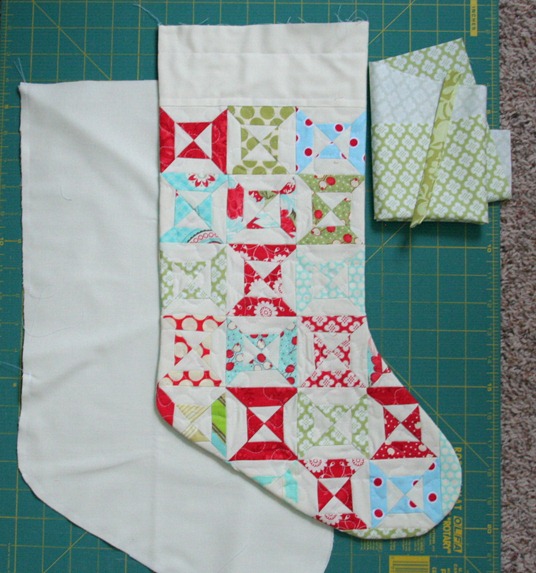
- the outside of the stocking, already sewn together with the back and turned right side out. (the front of my stocking is quilted with batting, the back has no batting)
- the lining of the stocking sewn together ( leave a 3” hole in the side for turning!) right sides in.
- fabric for the cuff
- a sewn tab of fabric for hanging tab
To figure out how wide to cut your cuff fabric….measure the width of the top of your stocking, double that number and add .5 inch for the seam allowance. For the length of the cuff I cut my fabric 9”…to give me a 4.25” finished folded cuff. So this piece was 9” x 16.5”
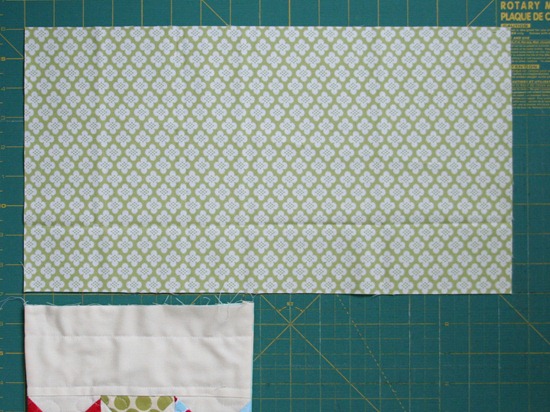
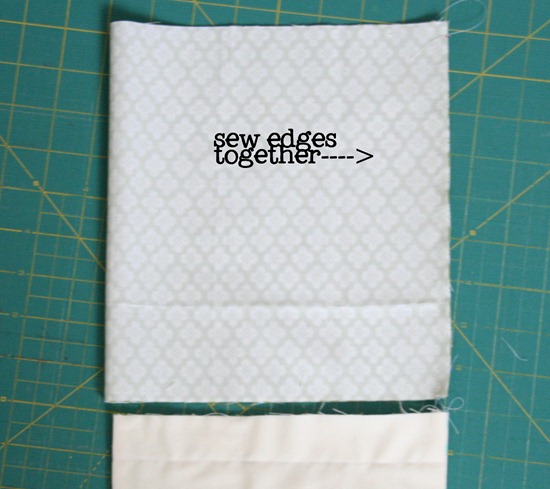
Sew together the 9” ends of the cuff piece, use a 1/4” seam allowance.
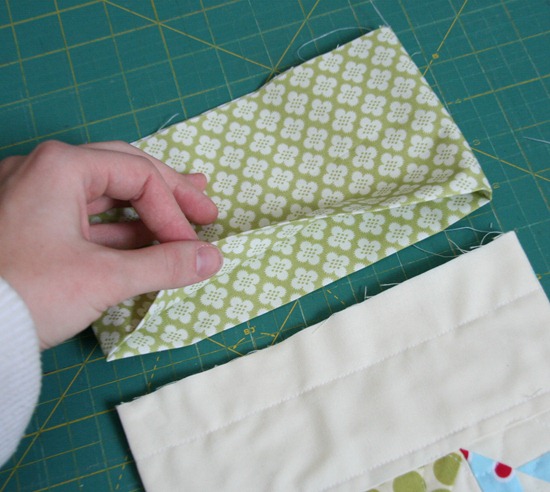
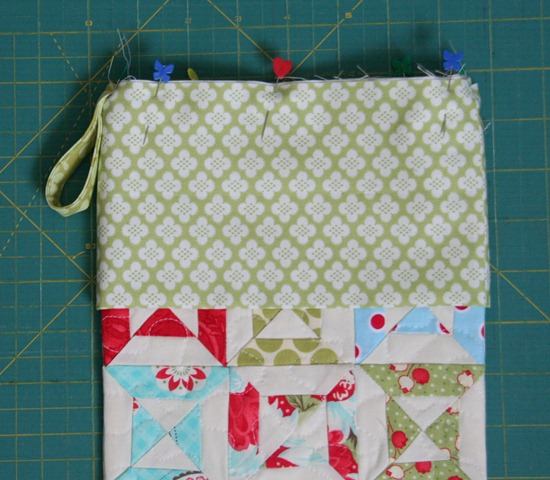
Turn the cuff right side out so its folded at the bottom and raw edges are at the top. It should make a tube you can stick the stocking in.
Stick the cuff on and around the top of the stocking, match the raw edges and pin. You can pin the tab onto the side now also.
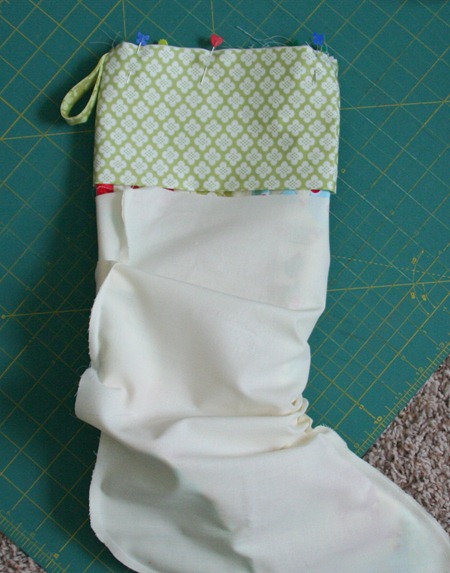
Stick the whole thing into the lining. The stocking and lining should be right sides together.
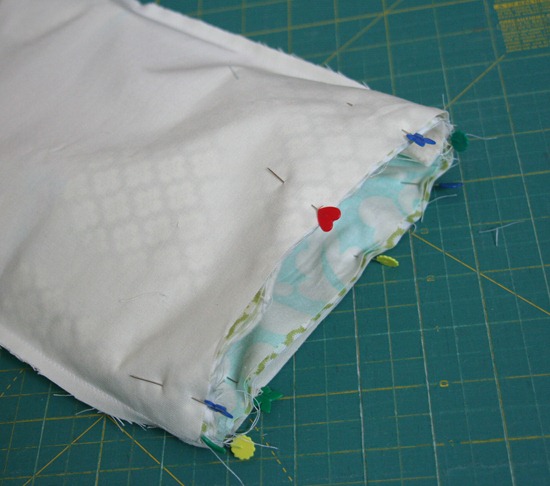
Pin all of the raw edges together at the top (lining, 2 cuff edges, and stocking edges).
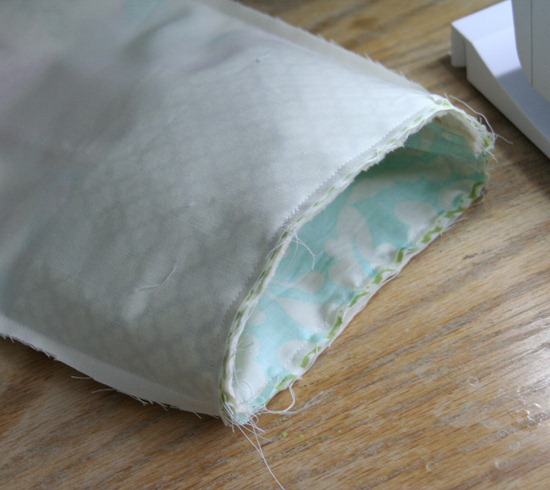
Sew all the way around the top. Make sure you catch all the layers (lining, cuff edges, stocking).
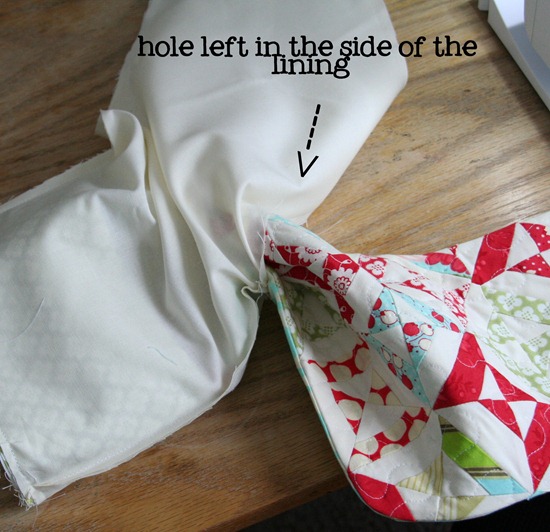
Turn the whole thing right side out using the hole left in the side of the lining.
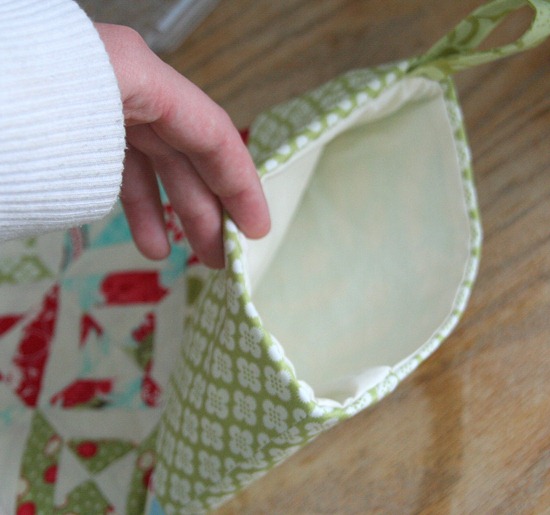
Finish turning it inside out and sew up the hole in the side of the lining. Stuff the lining inside the stocking and fold the cuff down. Press the edges as needed.
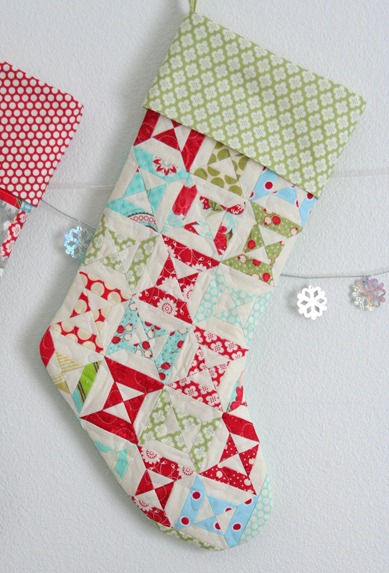
When you’re done you’ll have a nicely lined cuff and stocking with no raw seams showing.
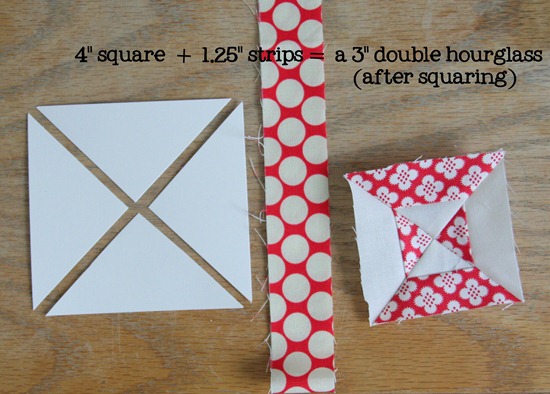
If you want to make these little double hourglass blocks I used my tutorial but changed the sizing of the template and the strips shown below:

8 comments:
I love the little hour glasses. Great job!
Great tutorial! Love the hour glasses :)
I love this, and I think I'll be giving this style a whirl!
I love the hourglass block! Great tutorial! I will try to make you some stockings, just let me know where to mail them to.
Great tutorial- can't wait to make some!
This is such a great tutorial. I would have NEVER figured that out!
I have had stocking parts on my sewing table for two days, while I mulled over how in the heck to do what you've just explained. Thank you so much!
Great tutorial! Thank you!! I like the idea of no exposed seams. A lot.
Post a Comment